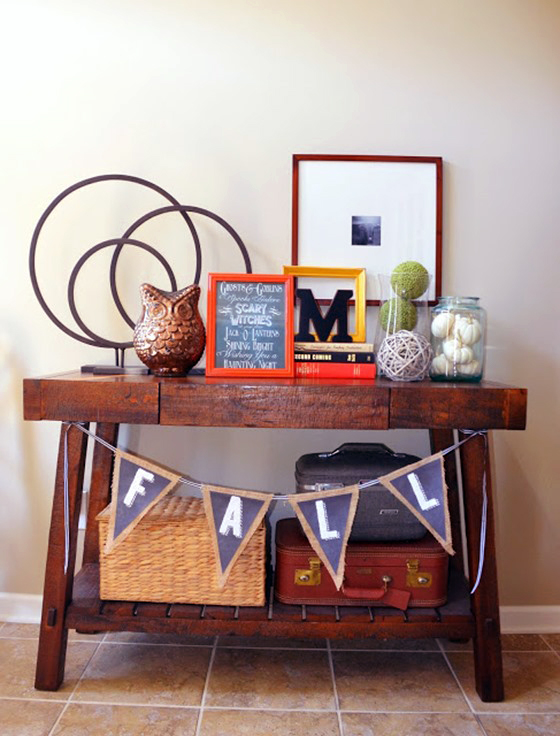
One of my favourite seasons is fall, and what better way to celebrate it than with a scrapbook paper diy fall banner? This scrapbook paper diy fall banner design that was a fairly simple project. Once I figured out how I wanted it to glance. I’m confident you could make one really pretty for fall or even with some other colors of paper for winter or just for any season as well. It was also a very reasonably diy fall banner ad design cost coming in at less than $10 total!
Step 1.
Initiate and cut away from your real diy fall banner. Ours were around five inches by seven inches size. Afterwards, I cut a triangle shape out of the bottom of each flag, by marking a spot in the centre about an inch or two from the lowest part. After that, I just mark a line from each bottom corner to the mark and chopped.
Step 2.
Create the centre rectangles. I just calculated 2-inch strips of paper diy fall banner for the big square and about 1.5 inches for the lesser box. Adhesive sticks them onto your pennant and then cut out the triangle bottom apply the other cutout as a lead.
Step 3.
I created all of my smooth circles afterwards. I only marked around different objects to obtain different shapes. I practised some old scrapbook scissors I had kicking around to provide the greatest circle a shapely edge, but this isn’t essential.
Step 4.
The brown paper bag accordion circle was a light trickier. I applied the front of a paper bag, cut in half length-wise and taped with each other to create a longer slice.
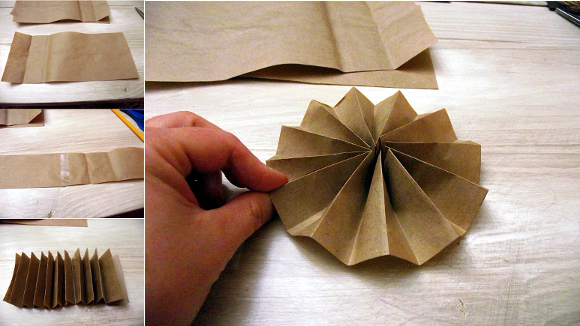
I rolled up it back and forth back and forth similar an accordion wing. After that, I arched it around to make a ring. This was the cute part – it placed wanting to pop up in the interior until I attach the circles on. Then I stacked all the circles together and glued them.
Step 5.
To prepare the letters, I open-handed the word FALL onto white paper, cut out every letter, flipped it above and mark it onto the BACK of my paper. After that, I cut those out and tighten them to the top-most ring.
Step 6.
I adjudged that I wished for my diy fall banner to look a bit older. As because I’d like cheap and not purchased the Distressing Ink. I desired I thought I’d see what some Dark Minwax Finishing Paste Wax would function. Many to my wonder, it worked attractively!
The endmost and final step is to clip every pennant onto the jute with a clothes-peg, and now there it is; there you are! A finished diy fall banner design! Through preparing as well as showing beautiful and colourful DIY Fall Banner designs, you can make your moments memorable.
Also Know: